Card Edge and Surface Grading: Inspection Checklist
How to inspect card edges and surface flaws under good light, prepare a pre-submission checklist, and understand what only a professional grader can determine.
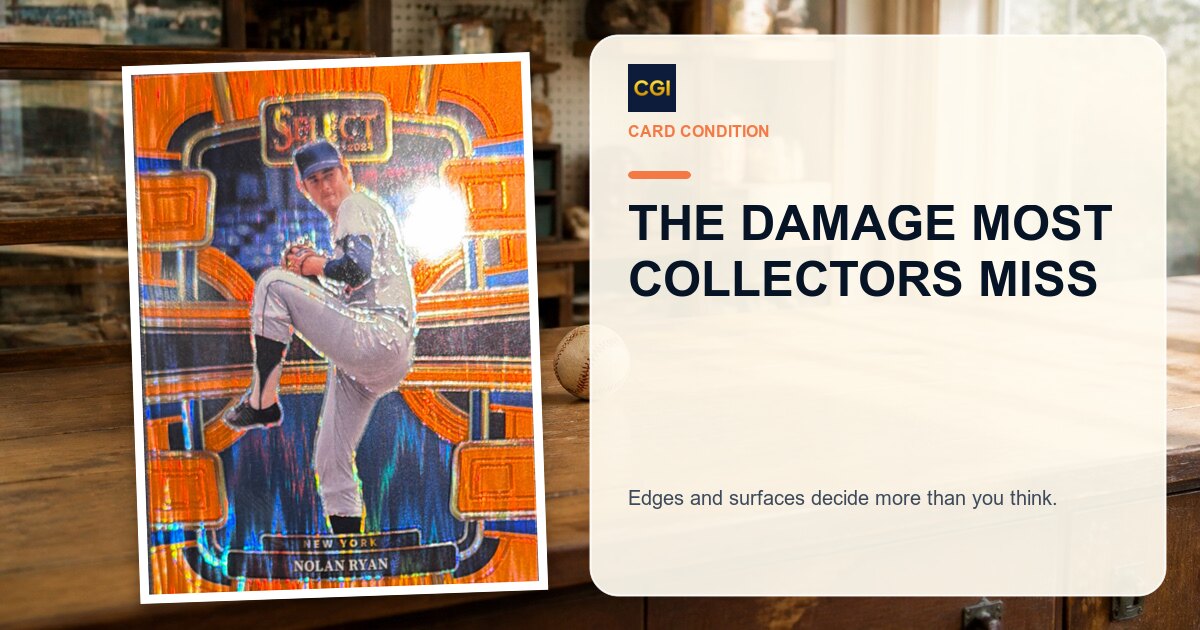
Card edge and surface grading: the direct answer
Edges and surface are practical areas to inspect before a submission because many visible defects appear under the right light and angle. Start with a clean raw card, inspect all four edges and both sides of the surface, and document anything that is visible. Use that inspection to decide which cards need closer review—not to assign a professional grade yourself.
PSA's published standards describe a Gem Mint 10 as virtually perfect, including sharp corners and full original gloss, while allowing that a final grade depends on the physical card and its overall appeal. Grading companies make their own final decisions after physical inspection.
Source checked August 5, 2026: PSA grading standards.
How to inspect card edges
Use a single bright light and examine each edge separately on both the front and reverse. Move slowly around the perimeter and look for:
- Chipping or whitening: exposed or rough-looking material along an edge
- Rough cutting: an uneven or jagged factory cut
- Dings or compression: visible impact marks, bends, or indents
- Peeling or separation: card layers lifting or separating
- Foreign material: residue, adhesive, or contamination near the edge
Do not run a tool, blade, or abrasive material along an edge. If you handle the card, use clean hands and hold it carefully by the sides. A defect can look different in a flat photo than under directional light, so recheck any concern from more than one angle.
How to inspect a card surface
Surface flaws are often angle-dependent. Put the card on a clean, non-reflective background, use one directional light, then tilt the card slowly while checking both the front and reverse.